Prompt Builder
The Prompt Builder is the primary interface in Kompass used to create, configure, and manage AI prompts. It allows users to design prompts that power AI agents, workflows, and applications.
Navigation
- Flow 1: Creating a Chat Prompt
- Flow 2: Creating a Text Prompt
- Flow 3: Creating an AI Generated Prompt
Prompt Creation Flows
Kompass supports three main prompt creation methods:
- Chat Prompt Creation – for conversational AI prompts
- Text Prompt Creation – for single instruction prompts
- AI Generated Prompt Creation – generate prompts automatically using AI
Flow 1: Creating a Chat Prompt
Chat prompts are used for multi-message conversational AI tasks such as agents, assistants, or multi-step workflows.
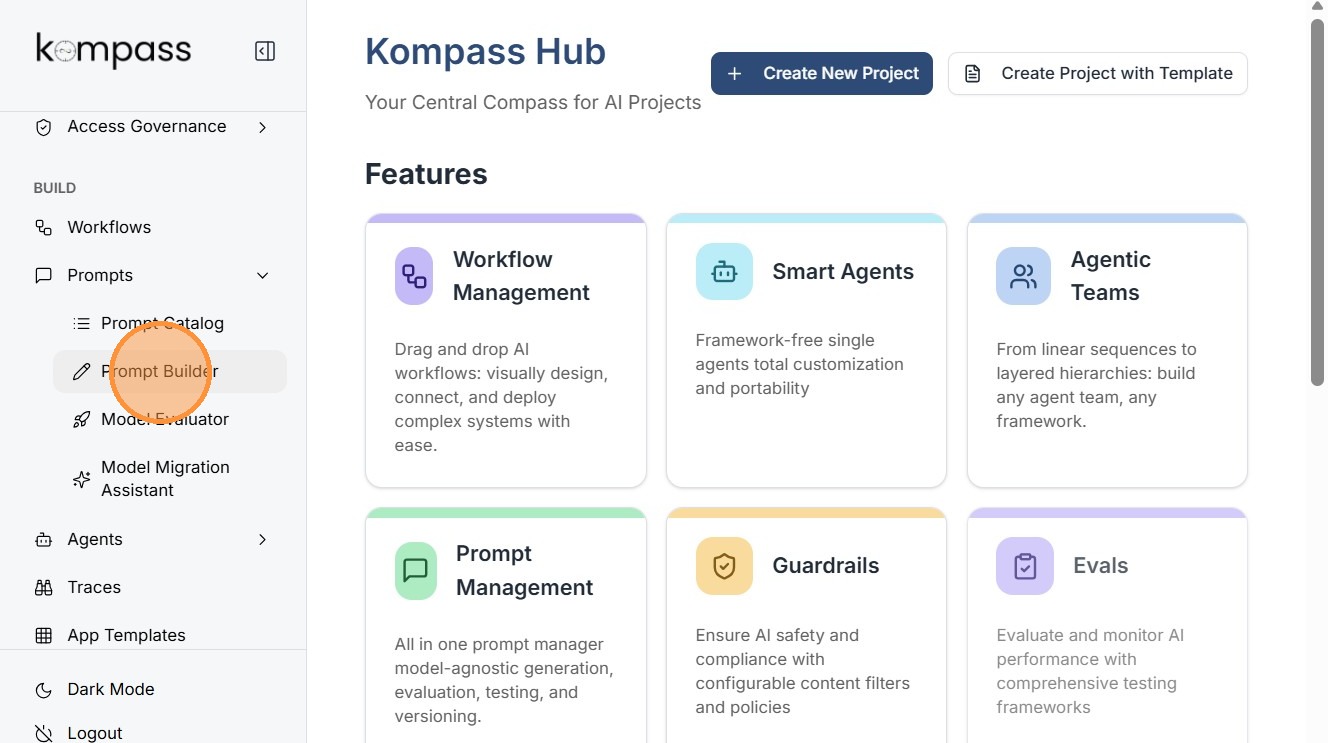
Step 1: Open Prompt Builder
Navigate to Prompt Builder from the Kompass dashboard to start creating a new prompt.
Step 2: Enter Prompt Name
Provide a clear and descriptive name for your prompt.
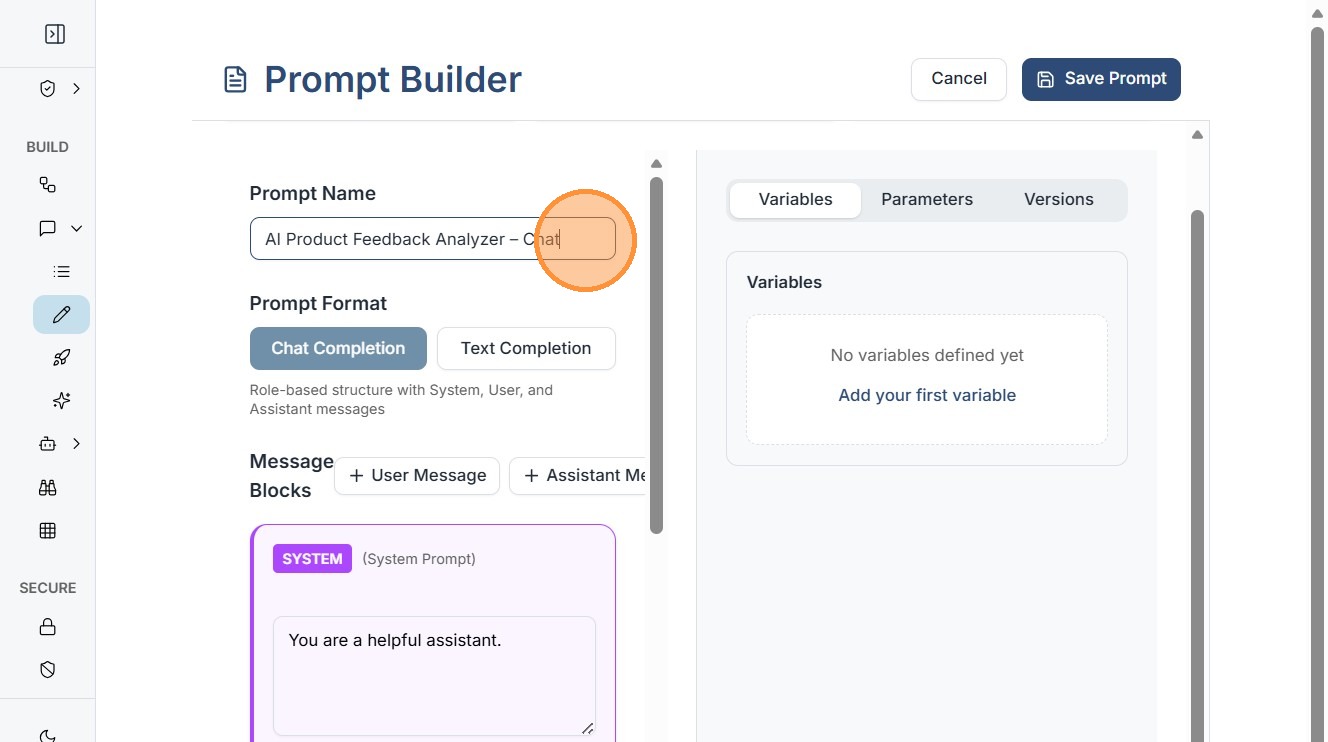
Step 3: Select Prompt Format
Choose Chat Completion for conversational prompts. Chat prompts allow you to define structured message roles such as:
- System
- User
- Assistant
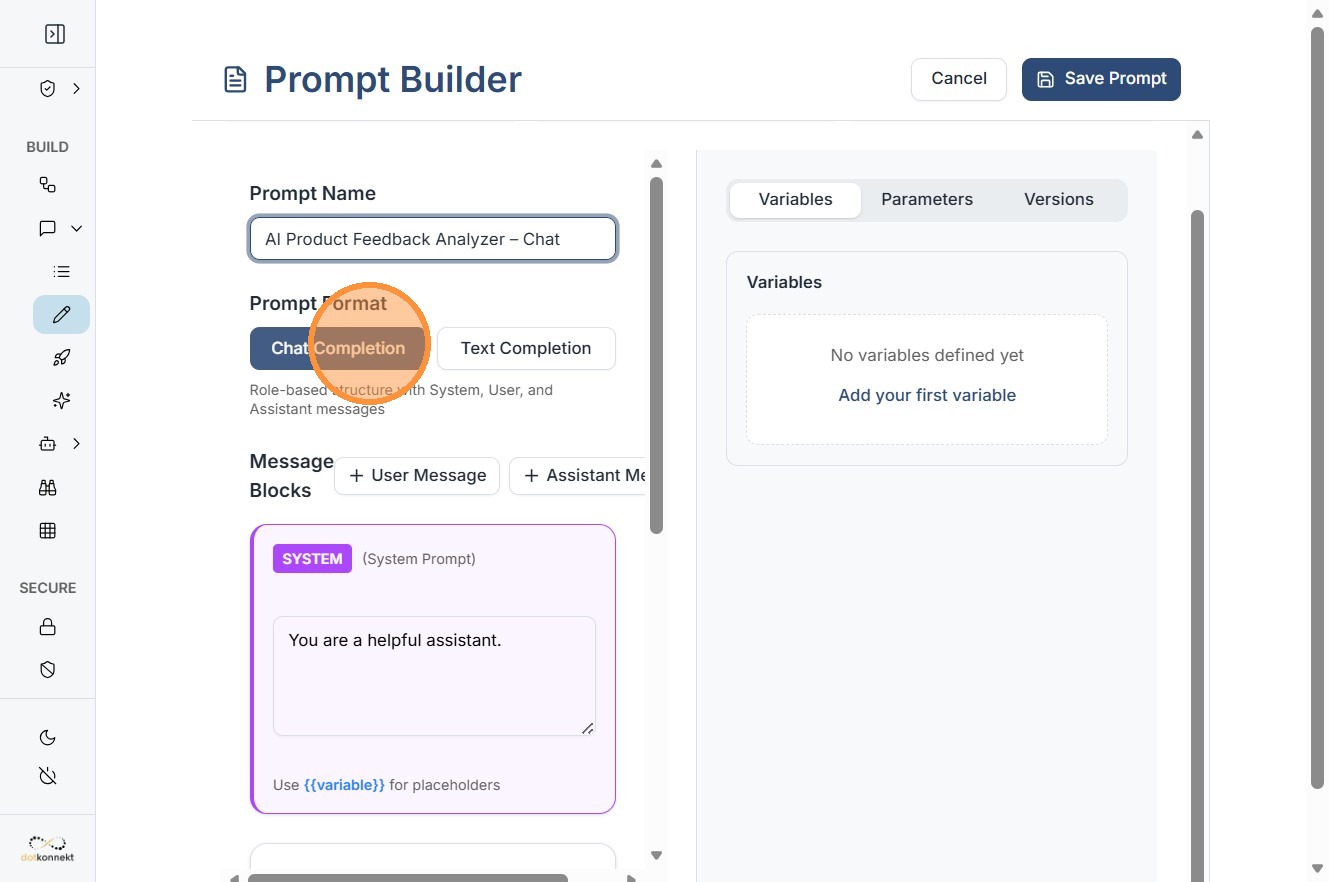
Step 4: Add System Message
The System Message defines the AI's behavior, role, and instructions.

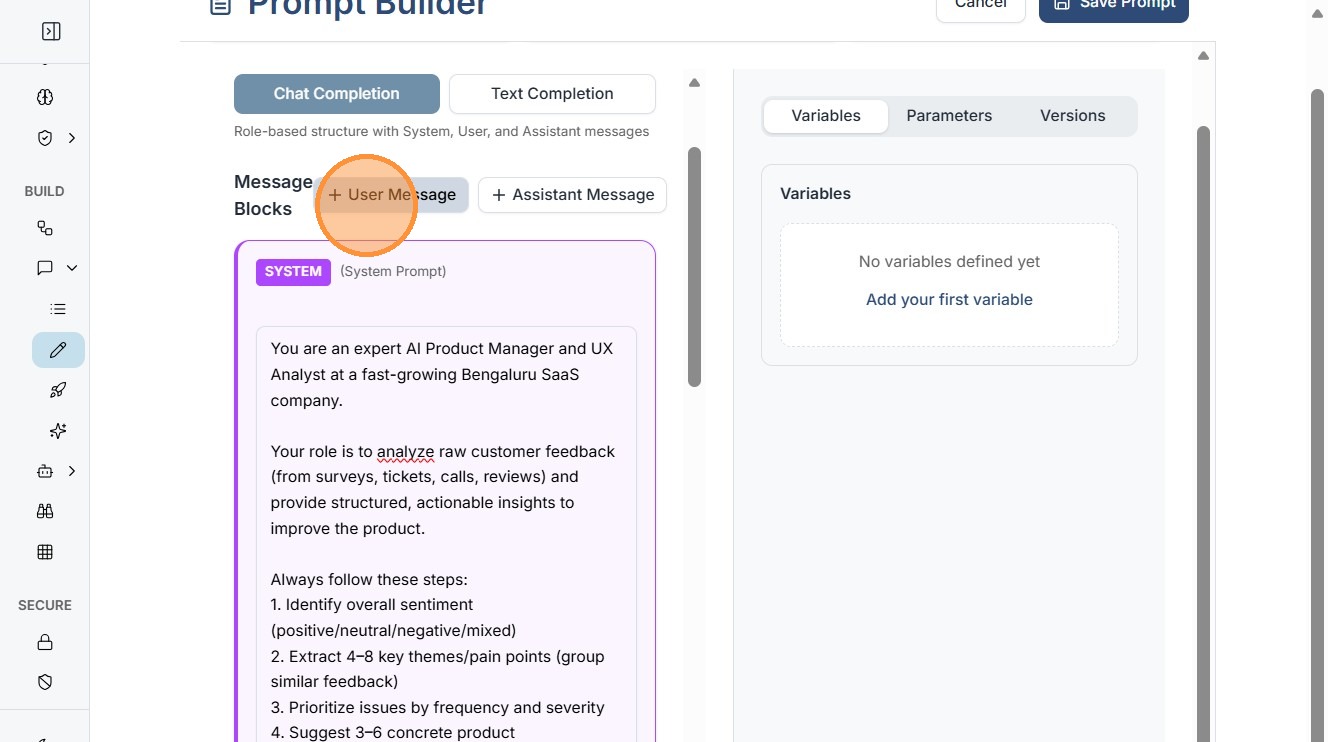
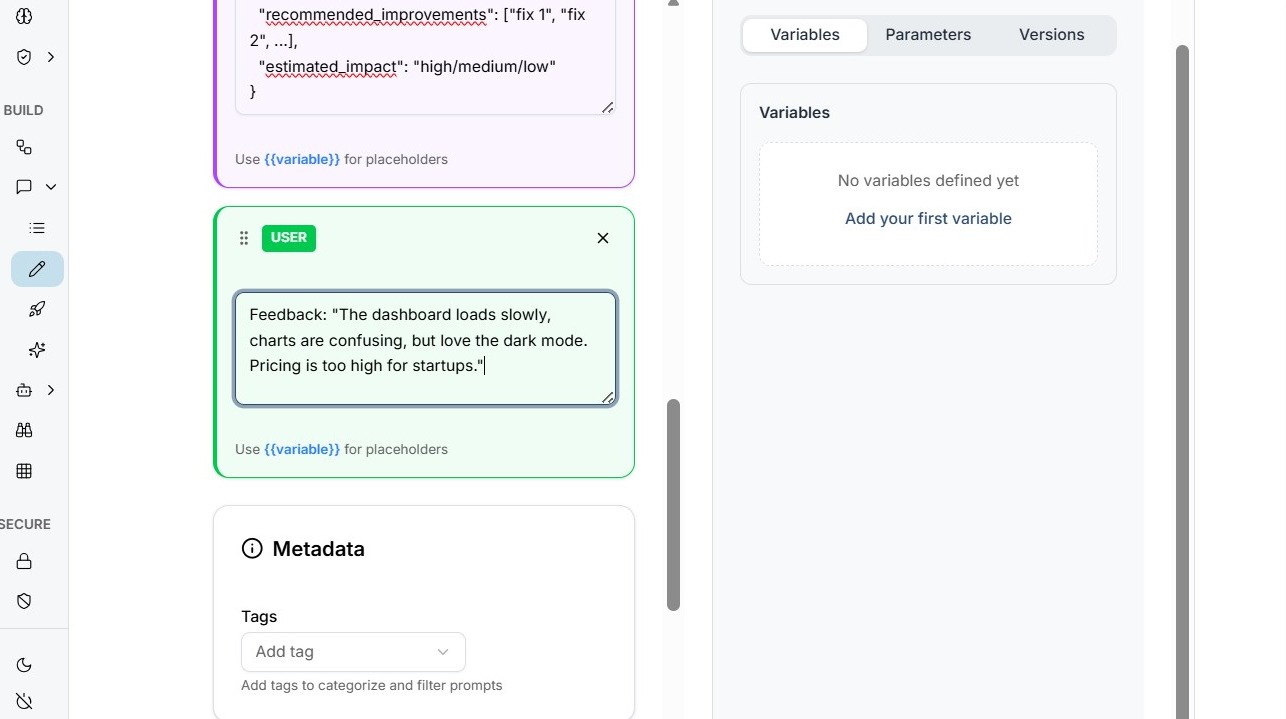
Step 5: Add User Message
The User Message represents the input that the AI will receive.
Pro Tip
This typically contains dynamic variables such as:
{{customer_feedback}}
{{product_name}}
These variables will be replaced with real data when the prompt runs.
Step 6: Add User Message Content
Add User message.
Step 7: Add Assistant Message (Few-Shot Example)
The Assistant Message allows you to provide example responses.
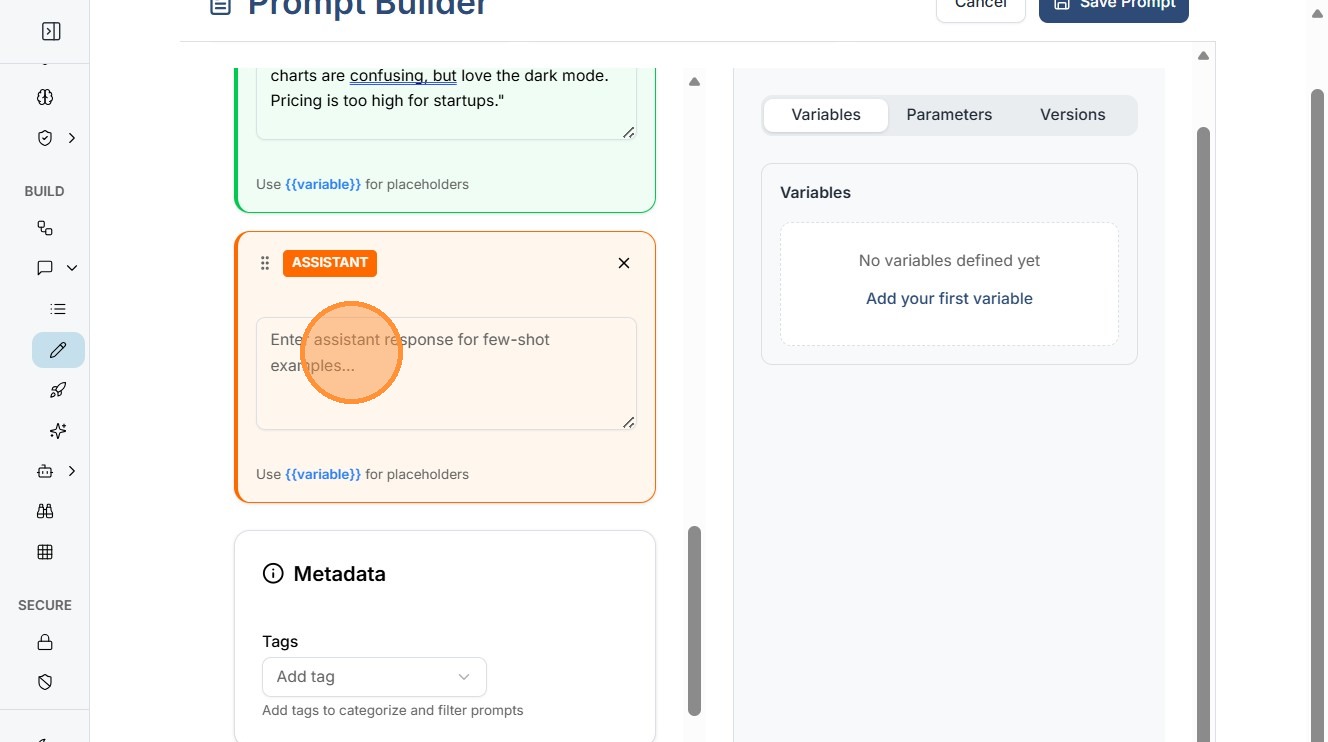
Pro Tip
Few-shot examples help the AI produce more consistent and accurate responses.
Example:
Input: Customer feedback about delivery delay
Output: Summary + recommended action
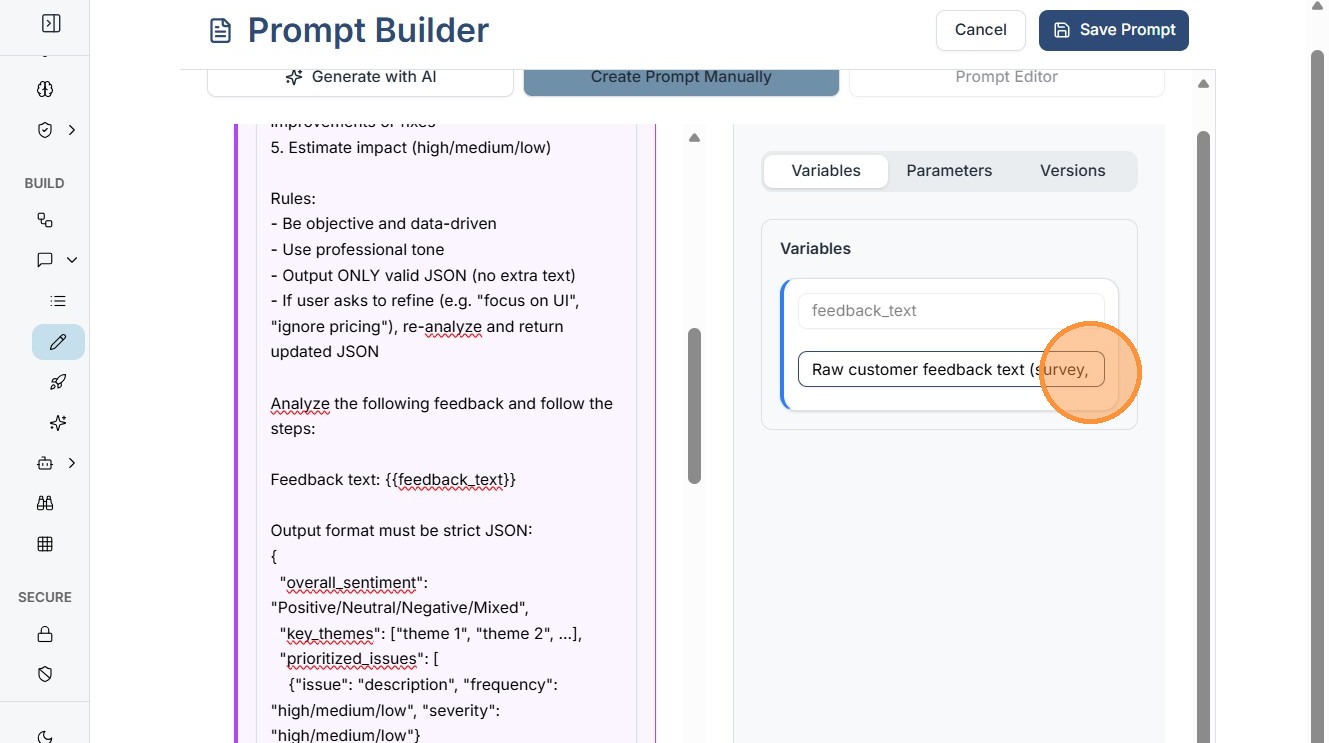
Step 8: Add Variable Descriptions
Add description of your variables.
e.g. -VariableDescriptioncustomer_feedbackRaw feedback text from customersproduct_nameProduct associated with feedback
This improves prompt readability and team collaboration.
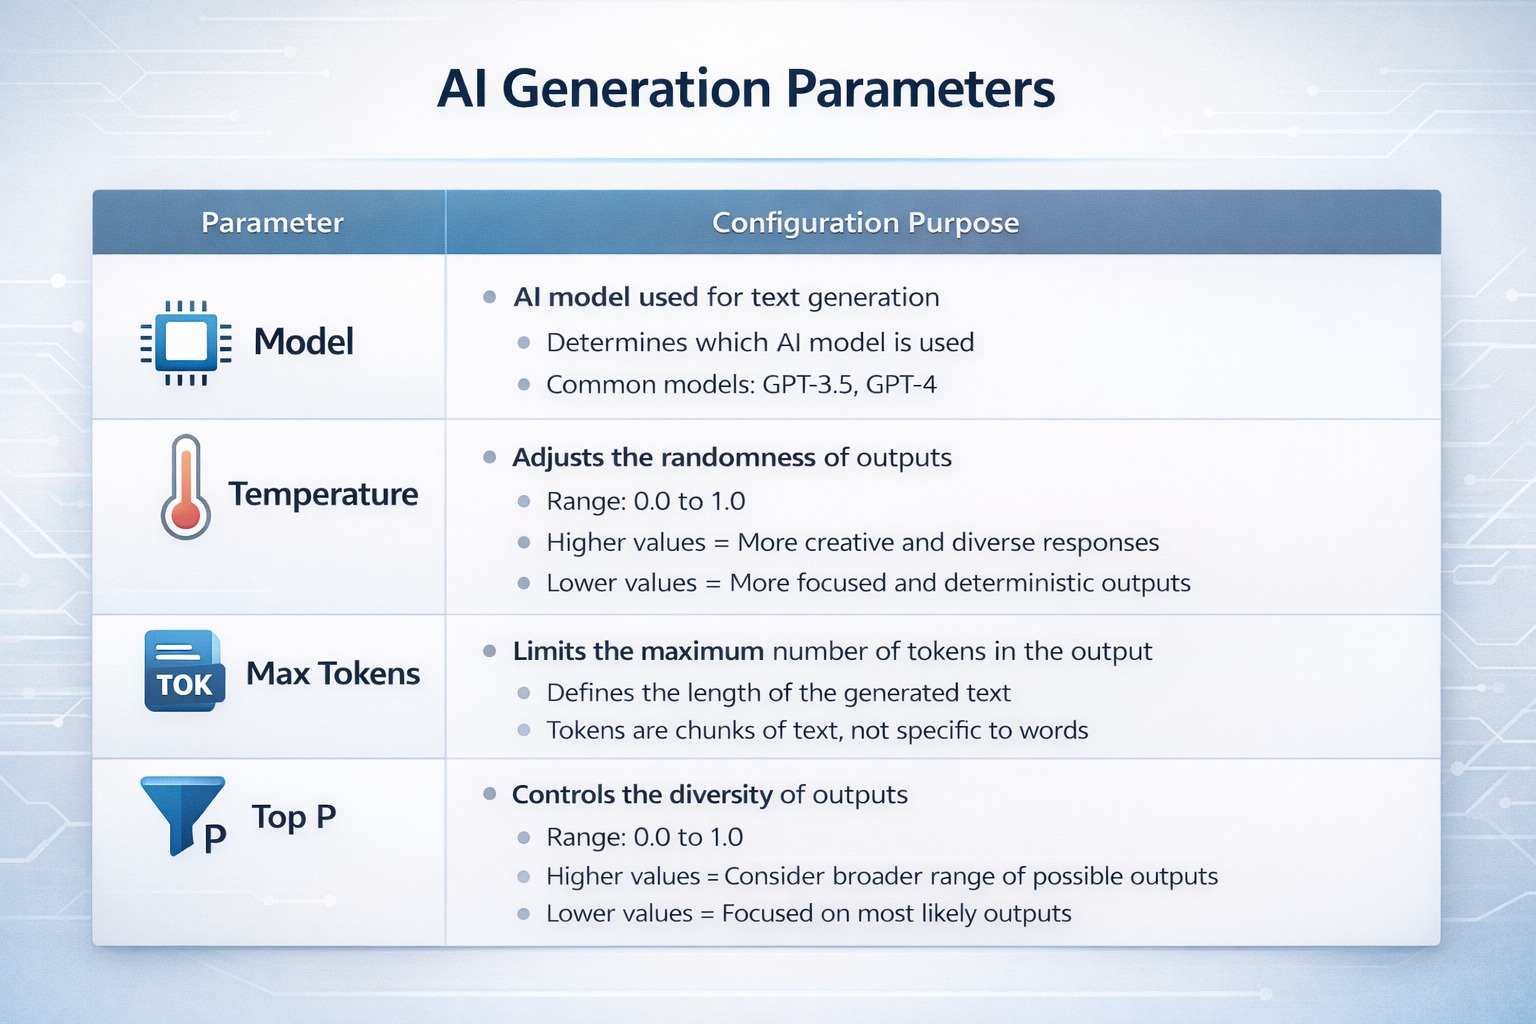
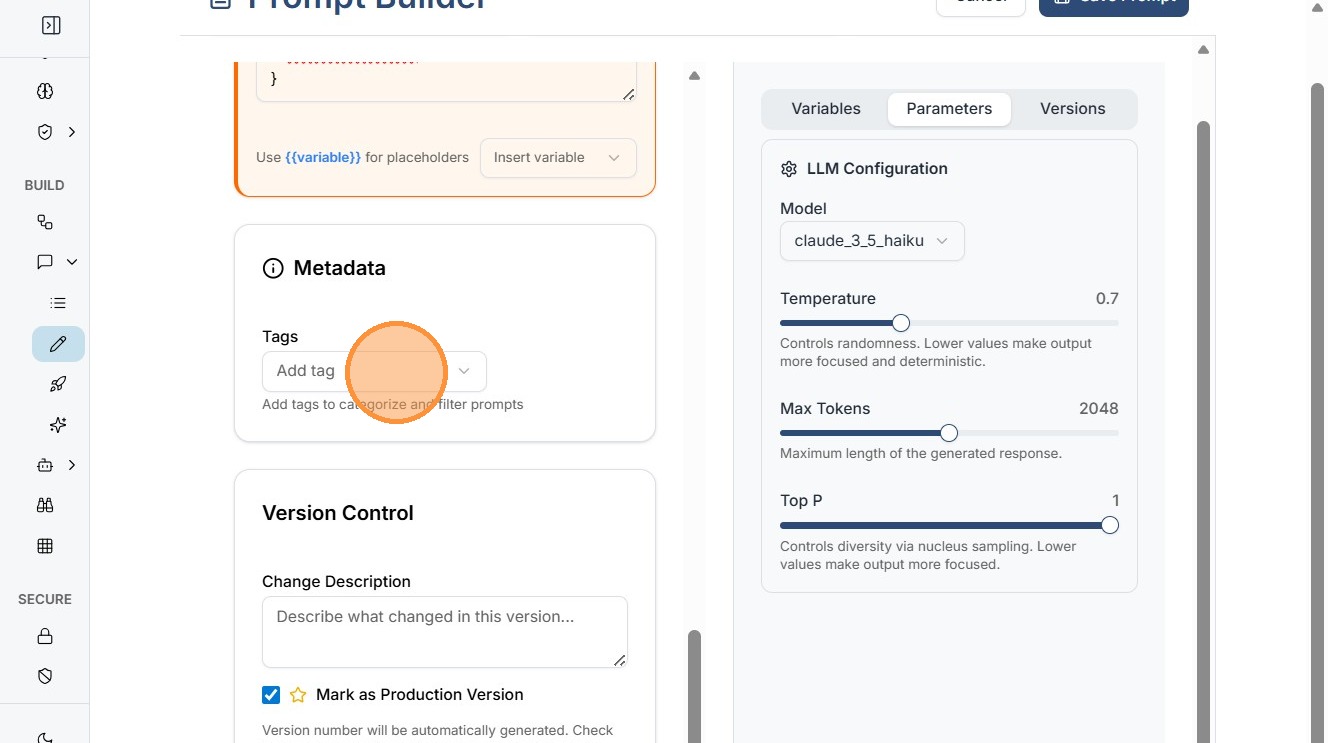
Step 9: Configure Model Parameters
Click Parameters to configure AI model settings.
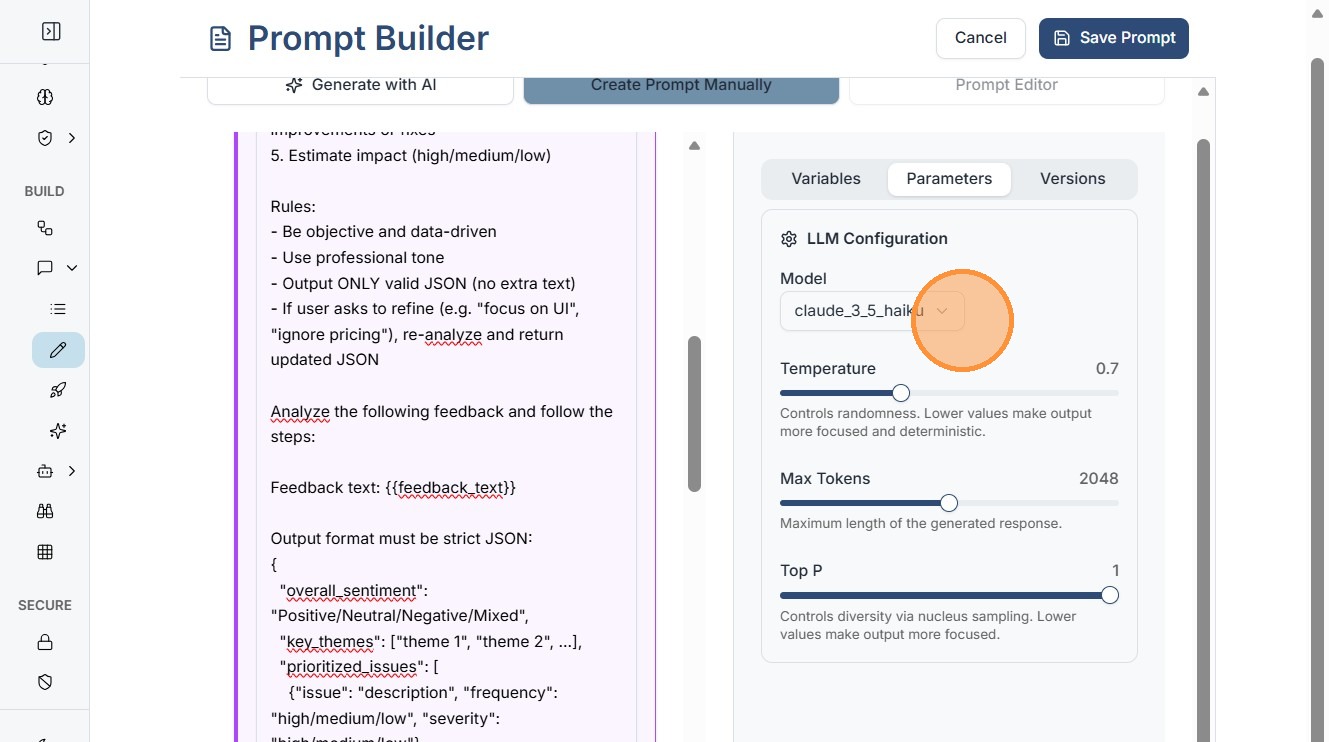
Pro Tip
Step 10: Add Tags
Tags help organize prompts within the catalog.
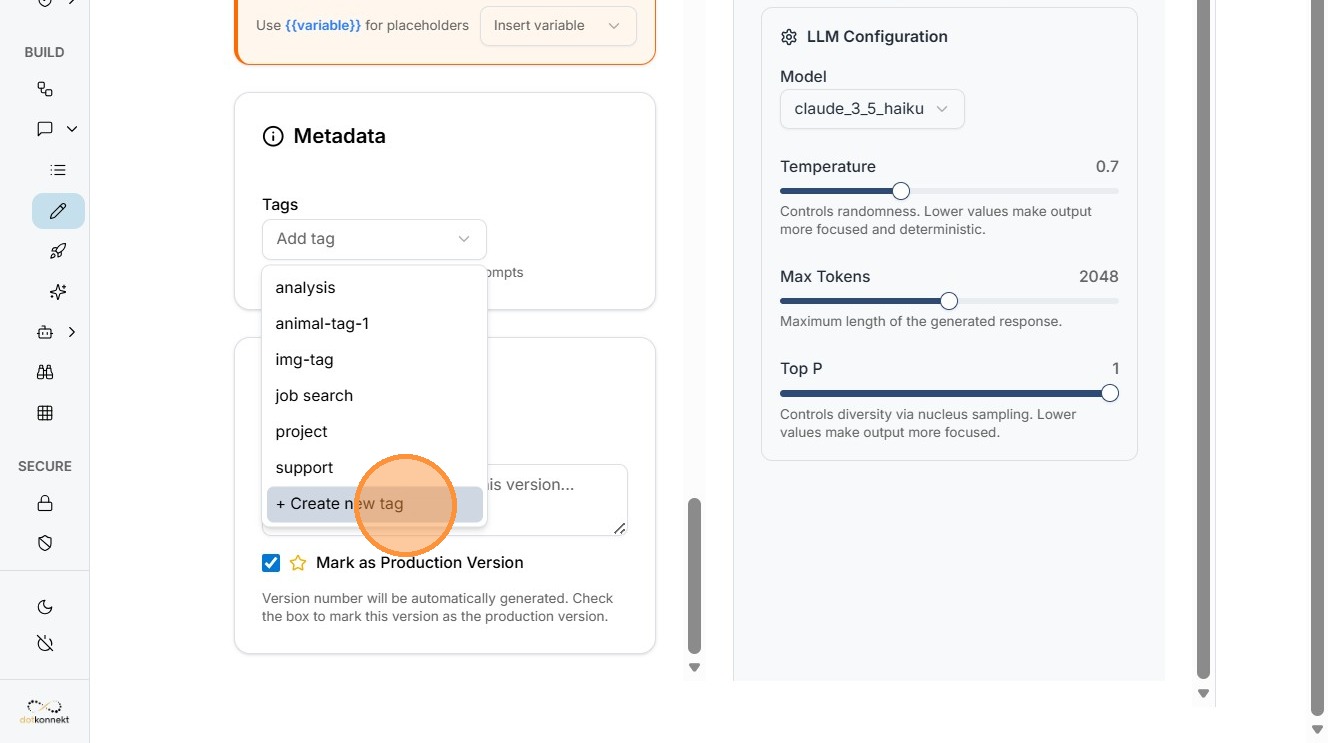
Step 11: Create New Tag
Click "+ Create new tag"
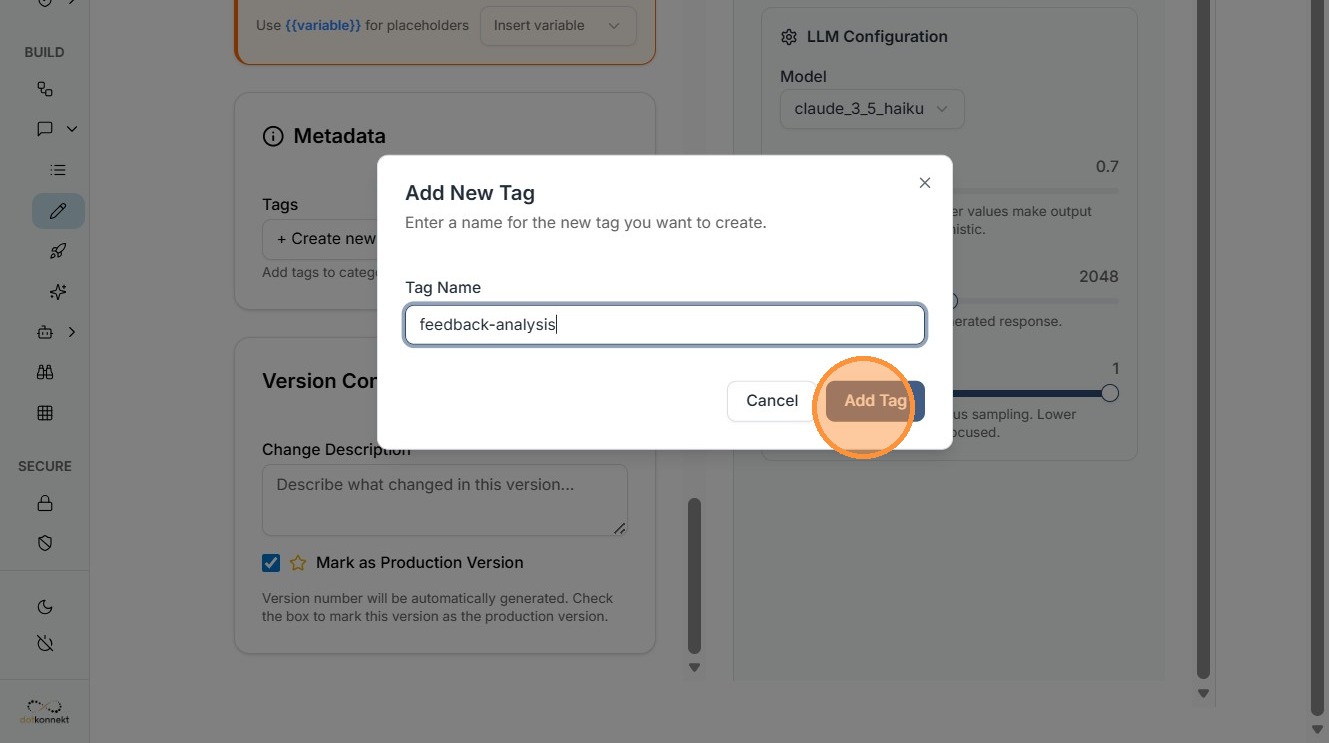
Step 12: Enter and Add Tag
Enter your Click "Add Tag" and attach to your prompt.
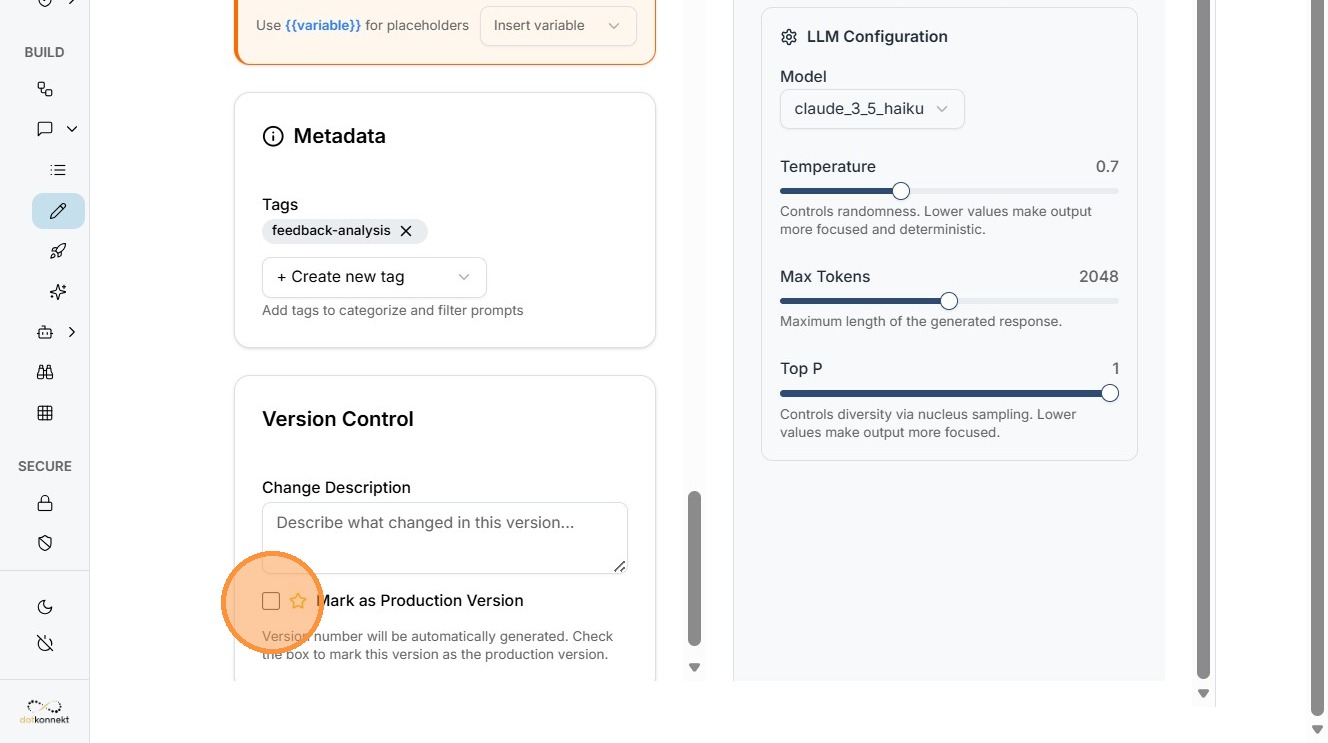
Step 13: Mark as Production Version
Enable Mark as Production Version when the prompt is ready for deployment.
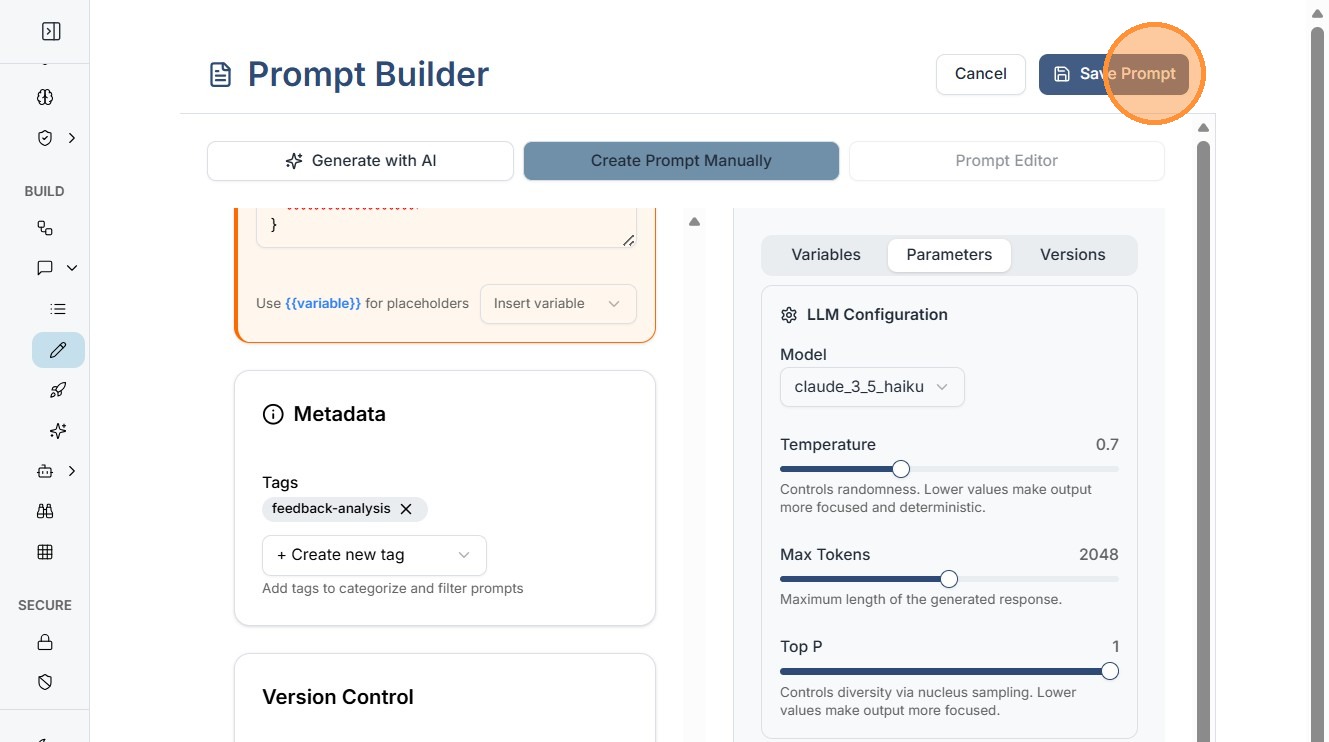
Step 14: Save Prompt
Click "Save Prompt"
Flow 2: Generate Prompt Using AI
Kompass also allows users to automatically generate prompts using AI.
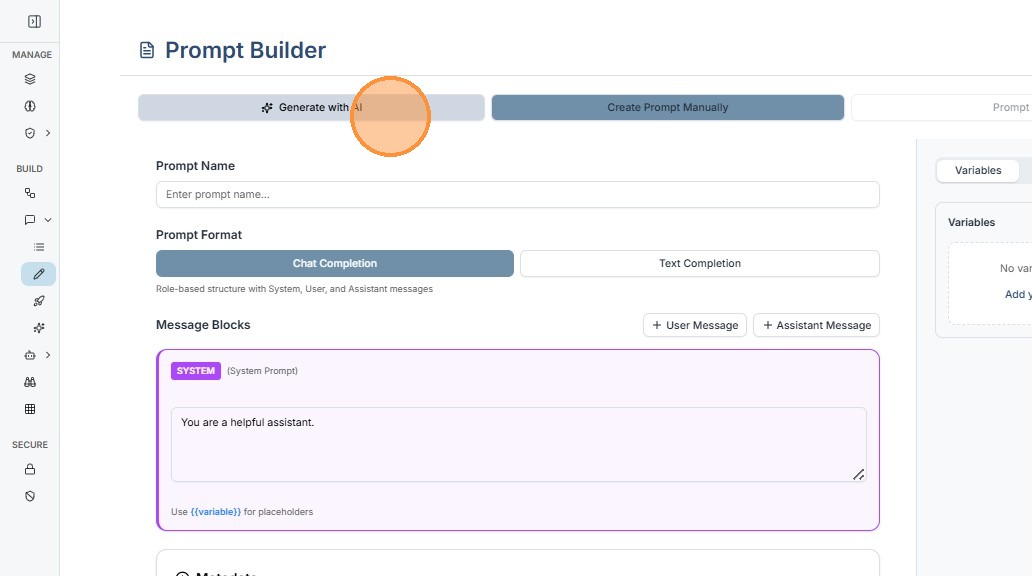
Step 1: Click Generate with AI
Select Generate with AI in the Prompt Builder.
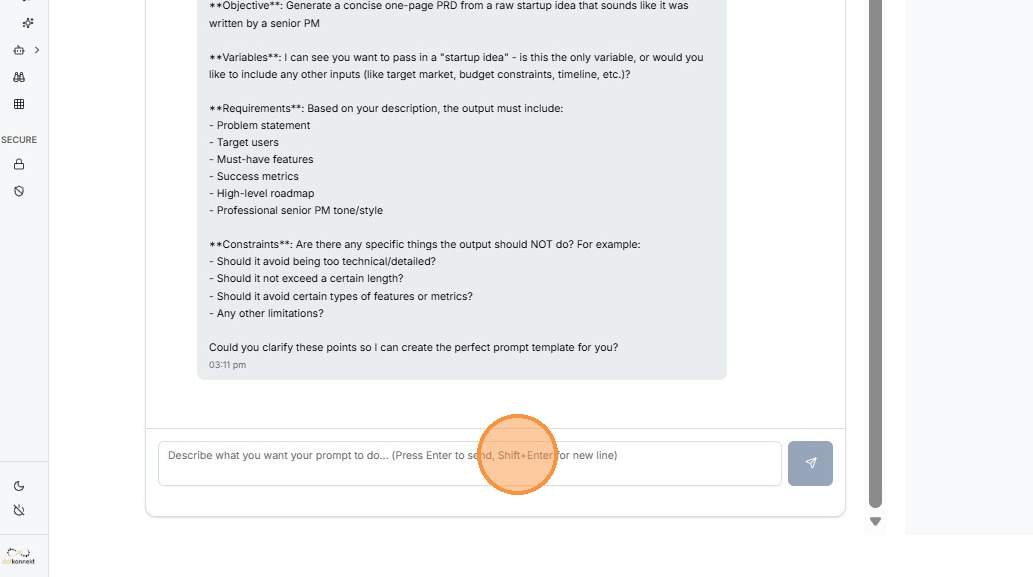
Step 2: Describe the Prompt Task
Provide a clear description of what the prompt should accomplish.
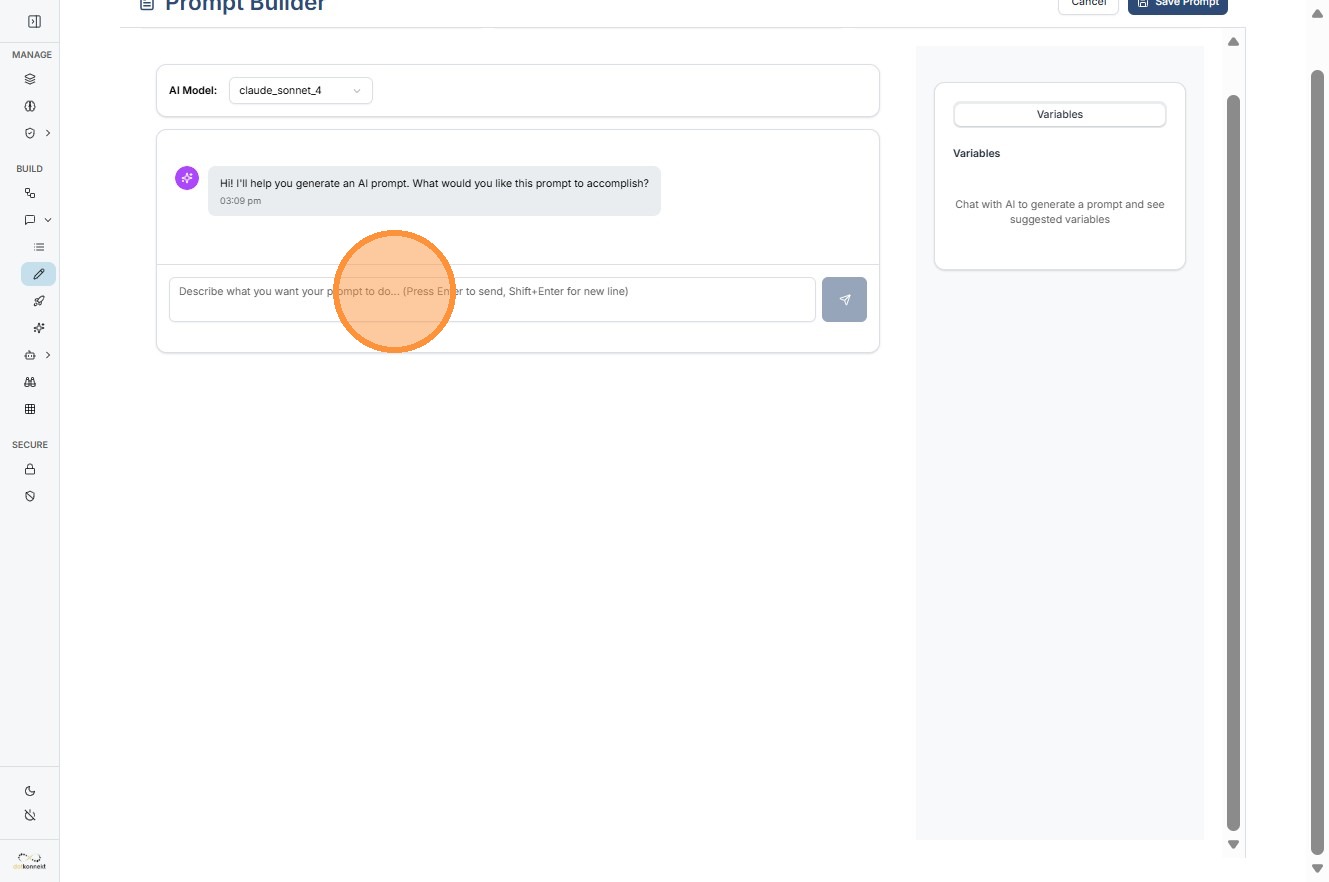
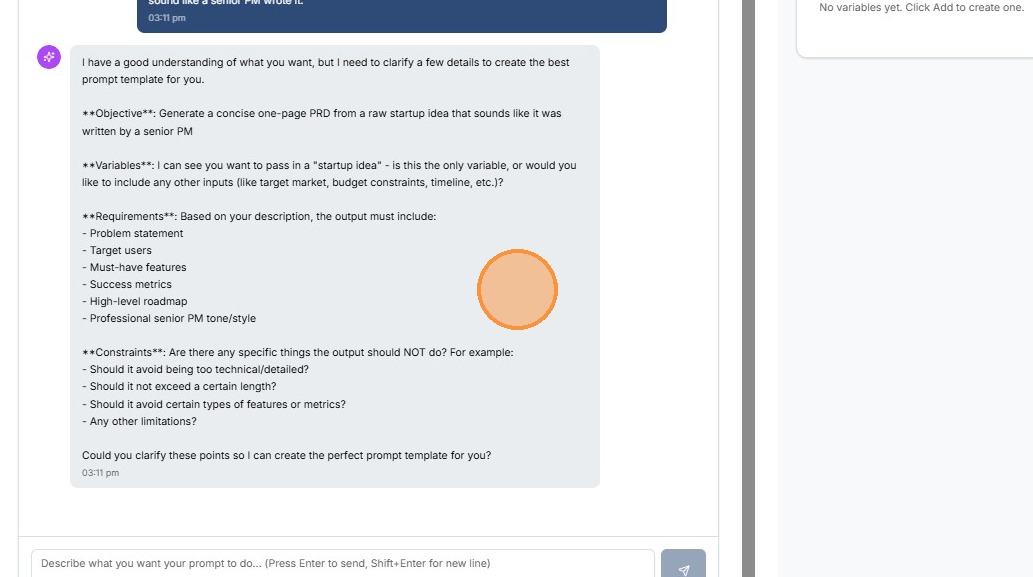
Step 3: AI Generates the Prompt
The AI analyzes your request and asks you follow up question to give you most optimized result.
Step 4: Refine the Prompt
Add additional clarification if needed.
Step 5: Generate Final Prompt
Click generate again to finalize the prompt.
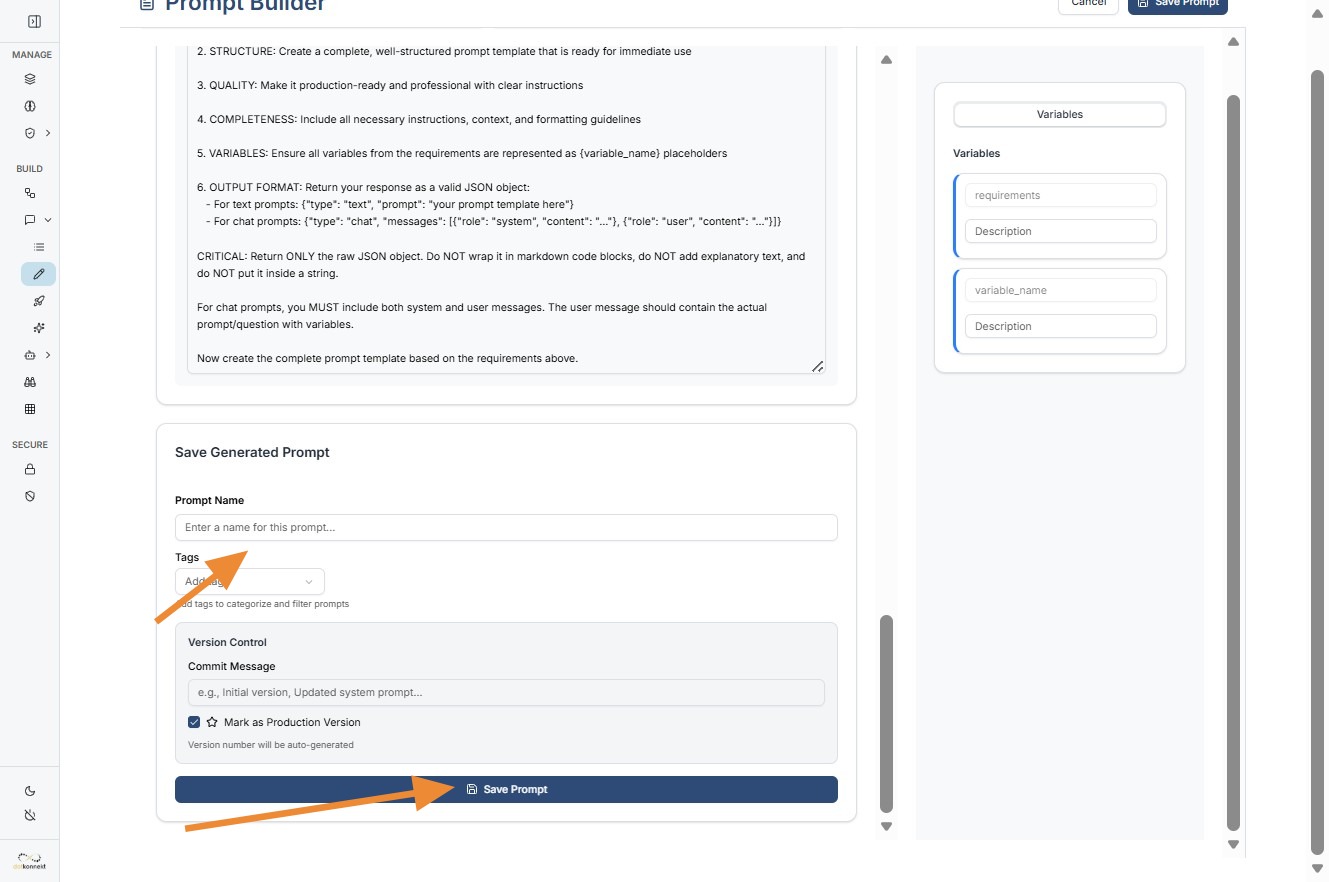
Step 6: Name the Generated Prompt
Provide a name for the generated prompt.
Step 7: Save Prompt
Save the generated prompt to your catalog.
Flow 3: Creating a Text Prompt
Text prompts are used for single instruction tasks such as summarization, classification, or data extraction.
For a complete guide, refer to:
Summary
The Prompt Builder enables teams to design and manage AI prompts efficiently through:
- Chat-based prompt creation
- AI-generated prompt workflows
- Text prompt creation
- Parameter configuration
- Tagging and organization
- Production version management
Together with the Prompt Catalog, the Prompt Builder forms the foundation of prompt management in Kompass.