Conditional
1. Component Intro
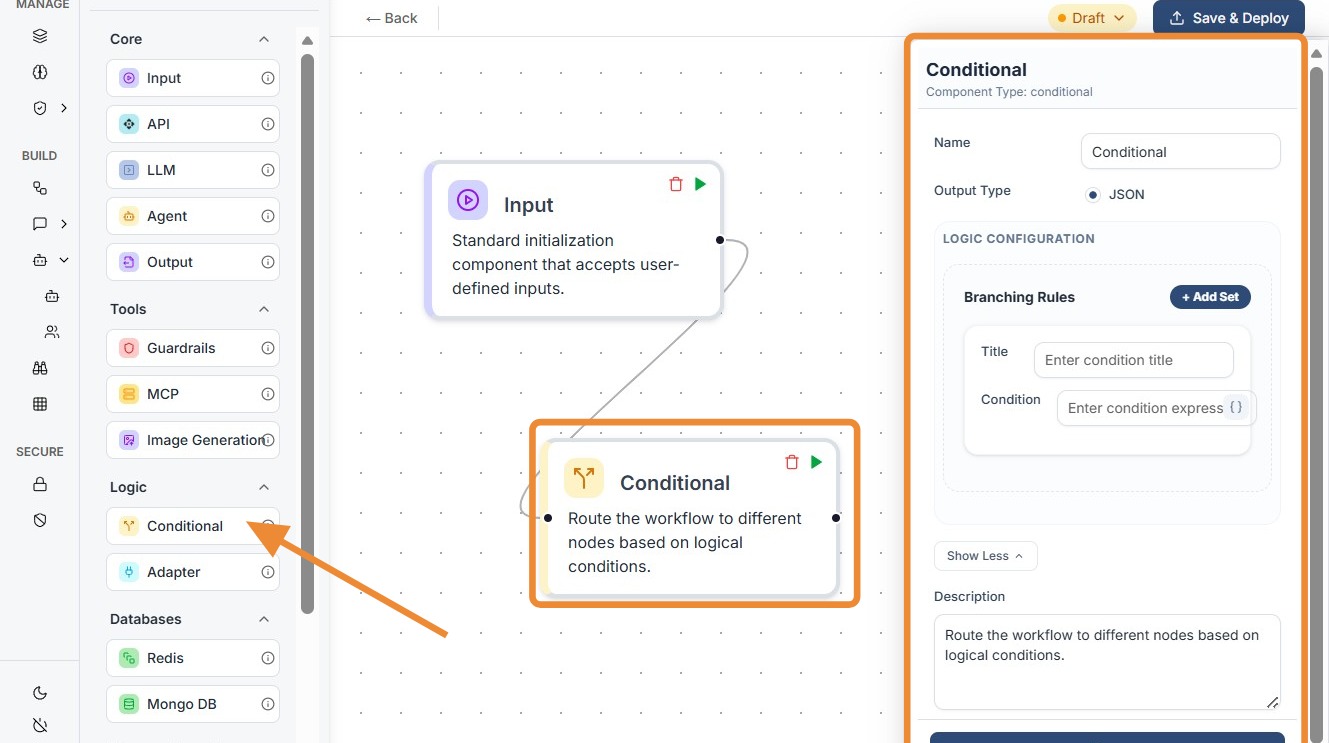
The Conditional Component acts as the primary decision-making hub of your workflow. It allows the system to branch into different paths based on specific logic or data values. By evaluating expressions in real-time, it ensures that only the relevant subsequent nodes are executed, enabling the creation of complex, non-linear AI applications.
Core JSON Structure
[[JSON]]
{
 "name": "Conditional_Logic",
 "type": "conditional",
 "description": "Route workflow based on dynamic logical conditions.",
 "output_type": "json",
 "inputs": {
  "conditions": [
    {
      "title": "Positive sentiment",
      "condition": "{{llm_sentiment.output}} == \"positive\""
    }
  ]
 }
}
2. Where to Use It
-
Sentiment Routing: Directing a user to a "Thank You" block if sentiment is positive, or a "Support Agent" block if negative.
-
Format Validation: Checking if an API response contains a specific field before attempting to process it.
-
Intent Classification: Routing a query to a "Weather Agent" vs. a "Booking Agent" based on a classification LLM's output.
-
Error Handling: Diverting the flow to a fallback node if a previous component returns an error or an empty string.
3. How to Initialize
-
Add Node: Drag the
Conditionalcomponent from the Logic section of the library onto the canvas. -
Add Branching Rules: Click + Add Set in the configuration panel to create a new logic branch.
-
Define Title: Enter a descriptive
title(e.g., "Is Premium User"). This is for display purposes only to help keep the canvas organized. -
Write Condition: Enter the logical expression using
{{componentID.output}}.Example:
{{check_auth.output}} == true -
Connect Ports:
Link the Input Port (left side) to the data source.
Link the Multiple Output Ports (right side) to their respective destination nodes based on the rules you defined.
Conditional
Do's and Don'ts
✅ Do's
-
Use Clear Titles: Give your conditions names like "User Logged In" rather than "Condition 1" to make the workflow easy for teammates to read.
-
Use Triple Equals: When comparing strings, ensure you use proper syntax (e.g.,
== "value") to avoid evaluation errors. -
Test for Nulls: Add a branch to handle cases where a previous node might return
nullor an empty string to prevent the workflow from breaking. -
Keep Logic Simple: If a condition requires 10 different "AND/OR" statements, consider using an LLM or Adapter node to simplify the logic first.
❌ Don'ts
-
Forget the Default Path: Don't assume one of your conditions will always be met; always ensure there is a "fallback" path for the workflow to follow.
-
Mistype ComponentIDs: Don't manually type
{{componentID}}unless you are sure of the spelling; use the variable picker if available to ensure the link is active. -
Overlook Output Ports: Don't forget that each "Branching Rule" you add creates a new output dot on the node; make sure each one is connected to a downstream component.
-
Confuse JSON with Strings: If a previous node outputs a JSON object, don't try to compare it directly to a string without specifying the property (e.g.,
{{api.output}}.status == 200).
Tip: Ordering Matters
The Conditional node evaluates rules from top to bottom. Place your most specific or most likely conditions at the top of the list for efficiency.
Troubleshooting: Evaluation Failures
If your workflow is getting "stuck" at a Conditional node:
- Check Quotes: Ensure string values are wrapped in double quotes.
- Verify Data Type: Ensure you aren't comparing a number to a string.
- Trace Input: Check logs to see the exact string passed by the preceding node.